Troubleshooting Shining 3D Einscan Pro HD Scanning Issues
Troubleshooting Shining 3D Einscan Pro HD Scanning Issues
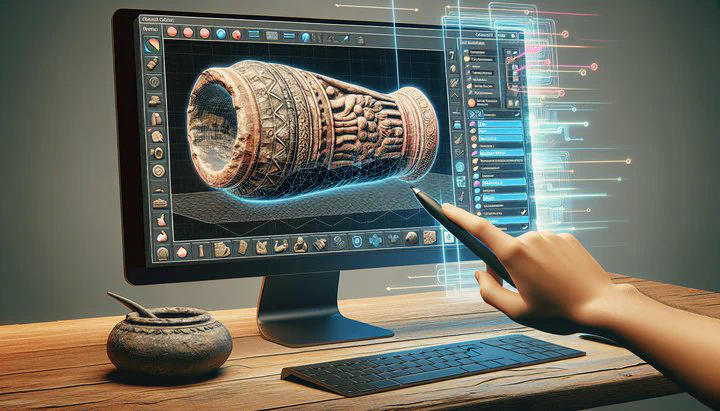
When it comes to capturing detailed digital images of archaeological artifacts, the Shining 3D Einscan Pro HD scanner stands out as a powerful tool. This article focuses on the common scanning issues users face with this device and aims to provide helpful solutions. By addressing these challenges, you can improve your scanning results and preserve the intricate details of historical objects effectively.
Understanding the Einscan Pro HD and Its Applications
The Shining 3D Einscan Pro HD is a versatile 3D scanner that excels in capturing fine details, making it ideal for scanning archaeological artifacts. This scanner is favored for its high resolution and ability to handle irregular shapes, crucial for preserving history digitally. By creating accurate digital replicas, researchers can study and share their findings without risking damage to the original artifacts.
Archaeologists and historians rely on the Einscan Pro HD to scan archaeological artifacts because it captures complex surfaces with precision. Whether dealing with small or large objects, the scanner’s consistent quality makes it a preferred choice in archaeology and beyond, including manufacturing and design. However, scanning delicate artifacts can present challenges. By understanding these issues and how to use the scanner effectively, you can achieve the best results.
Common Scanning Issues with Einscan Pro HD
When using the Shining 3D Einscan Pro HD to scan archaeological artifacts, several challenges often arise:
- Intricate Details: Capturing complex textures or irregular shapes can be difficult. Artifacts with unique surfaces might not be accurately interpreted, leading to missing details or distortions.
- Reflective Surfaces: Shiny or glossy surfaces can cause incomplete scans due to unpredictable light reflections. Adjusting lighting or using sprays might help, but aren’t always practical.
- Alignment Problems: While there might be no visible issues with alignment as can be seen in pictures, misalignment can still occur, affecting the final model’s accuracy.
- Troubleshooting Difficulties: Users have tried various forms of troubleshooting with no success, facing software glitches or hardware malfunctions that add to their frustration.
Understanding these issues is the first step toward finding solutions. In the next section, we’ll explore troubleshooting attempts and the challenges users face.
Troubleshooting Attempts and Challenges
Facing Shining 3D Einscan Pro HD scanning issues, many users have tried different methods to resolve them:
- Scanner Settings: Adjusting resolution or brightness can help, but might introduce new problems like longer scan times or increased distortion.
- Environment Adjustments: Enhancing scanning results by adjusting lighting conditions can reduce reflections but isn’t always foolproof, especially with shiny artifacts.
- Scanning Techniques: Trying different angles or positions can help, but invisible alignment errors can still occur, leading to inaccurate models that require rescanning.
Even with these efforts, some users have tried various forms of troubleshooting with no success. Issues may stem from scanner limitations or artifact complexities, requiring expert help to diagnose and fix.
Understanding these challenges is crucial for improving your scanning results. The next section delves into alignment’s role and offers potential solutions.
The Role of Alignment in Scanning Success
Alignment is key to successful scans with the Shining 3D Einscan Pro HD. Proper alignment ensures accurate and complete images, crucial for complex shapes and textures. Misalignment can lead to significant inaccuracies in the final model.
While there may be no visible issues with alignment as can be seen in pictures, invisible problems can still affect the model. Ensuring stable positioning and using alignment markers can help prevent these errors.
To improve alignment:
- Set Up the Environment: Ensure the object is stable and secure. Use alignment markers if possible.
- Adjust Scanner Settings: Match settings to the artifact’s size and shape.
- Take Multiple Scans: Capture the artifact from different angles for comprehensive coverage.
Consulting with other users or experts can provide new strategies for overcoming alignment challenges.
Tips and Recommendations for Improved Scanning
To optimize your scans with the Shining 3D Einscan Pro HD, consider these practical tips:
- Optimize Lighting: Use soft, diffused lighting to reduce glare and improve scan quality.
- Stabilize the Artifact: Use a non-reflective stand or turntable to minimize movement and ensure accurate scans.
- Adjust Scanner Settings: Increase resolution for detailed artifacts, balancing scan time and detail.
- Reduce Reflections: Apply a matte spray on shiny surfaces, ensuring it’s safe for artifacts.
- Keep Software Updated: Ensure you’re using the latest software updates for optimal performance.
By following these tips, you can overcome Shining 3D Einscan Pro HD scanning issues and create precise digital models of archaeological artifacts. Share your experiences and seek advice in community forums to enhance your skills further.
Related
- Effectively Managing TIA Software Changes with VM Snapshots
- Mastering Auto-Complete with Shared VarSets in FreeCAD
- Troubleshooting Flashforge Adventurer 4 Printing Issues
- Troubleshooting Issues When Moving ViewME Project Folder to OneDrive
- Mastering Macros in FreeCAD for Object Copying with Internal Names