Replacing Stock Parts on the CR-10SE- A Comprehensive Guide
Upgrade Your CR-10SE: Make Your 3D Printer Shine!
Ever wondered how to make your CR-10SE 3D printer work even better? Replacing stock parts on the CR-10SE can be a game-changer for both beginners and seasoned pros. By upgrading parts like nozzles and build plates, you can enhance print quality and cut down on troubleshooting time. Let’s dive into how these upgrades can boost your printer’s performance and make your printing experience smoother.
Pick the Best Nozzles and Plates for Your CR-10SE
Choosing the right new nozzles and a build plate is crucial for improving your CR-10SE’s performance. Nozzles come in different materials and sizes. Brass nozzles are great for regular filaments like PLA. But if you’re using materials that wear parts down quickly, like carbon-fiber-infused filaments, hardened steel nozzles are a better choice. Smaller nozzles give more detail, while bigger ones speed up printing.
When it comes to build plates, the official Creality plate is a popular choice. It helps prints stick better, reducing the chance of them warping or coming loose. It’s also easy to clean. Other options like glass plates or magnetic plates offer unique benefits, too.
Picking the right components depends on what you print and how often. If you switch materials a lot or print complex designs, having various nozzles is smart. A high-quality build plate can also reduce the number of times you need to auto-level.
How to Install New Nozzles and Build Plates
Upgrading your CR-10SE with new nozzles and build plates is easier than you think. Follow these steps to boost your printer’s performance:
Step 1: Gather Your Tools
You’ll need wrenches, a screwdriver, pliers, and a small brush. If you’re installing an official Creality plate, have the right clips or screws handy.
Step 2: Replace the Nozzle
Turn off your printer and let it cool. Remove the old nozzle with a wrench, turning it counterclockwise. Clean the area with a brush. Screw in the new nozzle carefully, making sure not to overtighten.
Step 3: Install the Build Plate
Remove the old plate by releasing clips or unscrewing it. Clean the surface. Place the new build plate or official Creality plate and secure it.
Step 4: Test and Calibrate
Run a test print and adjust settings as needed. You might need to auto-level the plate multiple times to get it just right. If you encounter Li-Dar errors when you hit print, check the sensor settings.
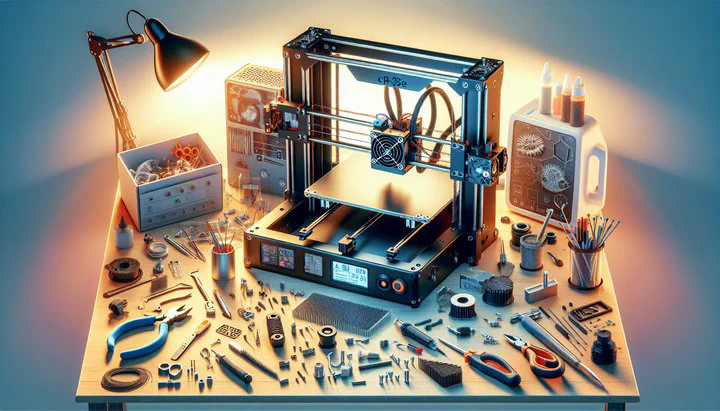
Adding diagrams or images here can help visualize the process, making it even easier to follow.
Troubleshooting Tips for Auto-Leveling and Li-Dar Errors
After upgrading, you might face some challenges like having to auto-level multiple times or dealing with Li-Dar errors. Here’s how to tackle them:
Auto-Leveling Challenges
If the new build plate isn’t flat or the nozzle height is off, you might need to adjust the leveling screws until there’s a slight resistance. Recalibrate the auto-leveling sensor if needed.
Li-Dar Errors
Li-Dar errors can be caused by sensor issues or light interference. Ensure your printer is stable and the sensor is clean. Adjust the sensor’s sensitivity settings if needed, or update the firmware.
Regular maintenance, like cleaning nozzles and build plates, helps keep things running smoothly. Recalibrate when switching materials to avoid issues.
Enhance Your 3D Printing Experience
Upgrading your CR-10SE by replacing stock parts can significantly improve your 3D printing results. With new nozzles and a build plate, you’ll see better quality and reliability. These upgrades also extend your printer’s lifespan.
By choosing the right components and tackling challenges head-on, you’ll enjoy a smoother printing experience. Try these upgrades and see how much better your prints can be. Don’t stop there—experiment and make your CR-10SE the best it can be!
We hope this guide has empowered you to take on new challenges with your CR-10SE. Share your experiences or ask questions in the comments section. Happy printing!